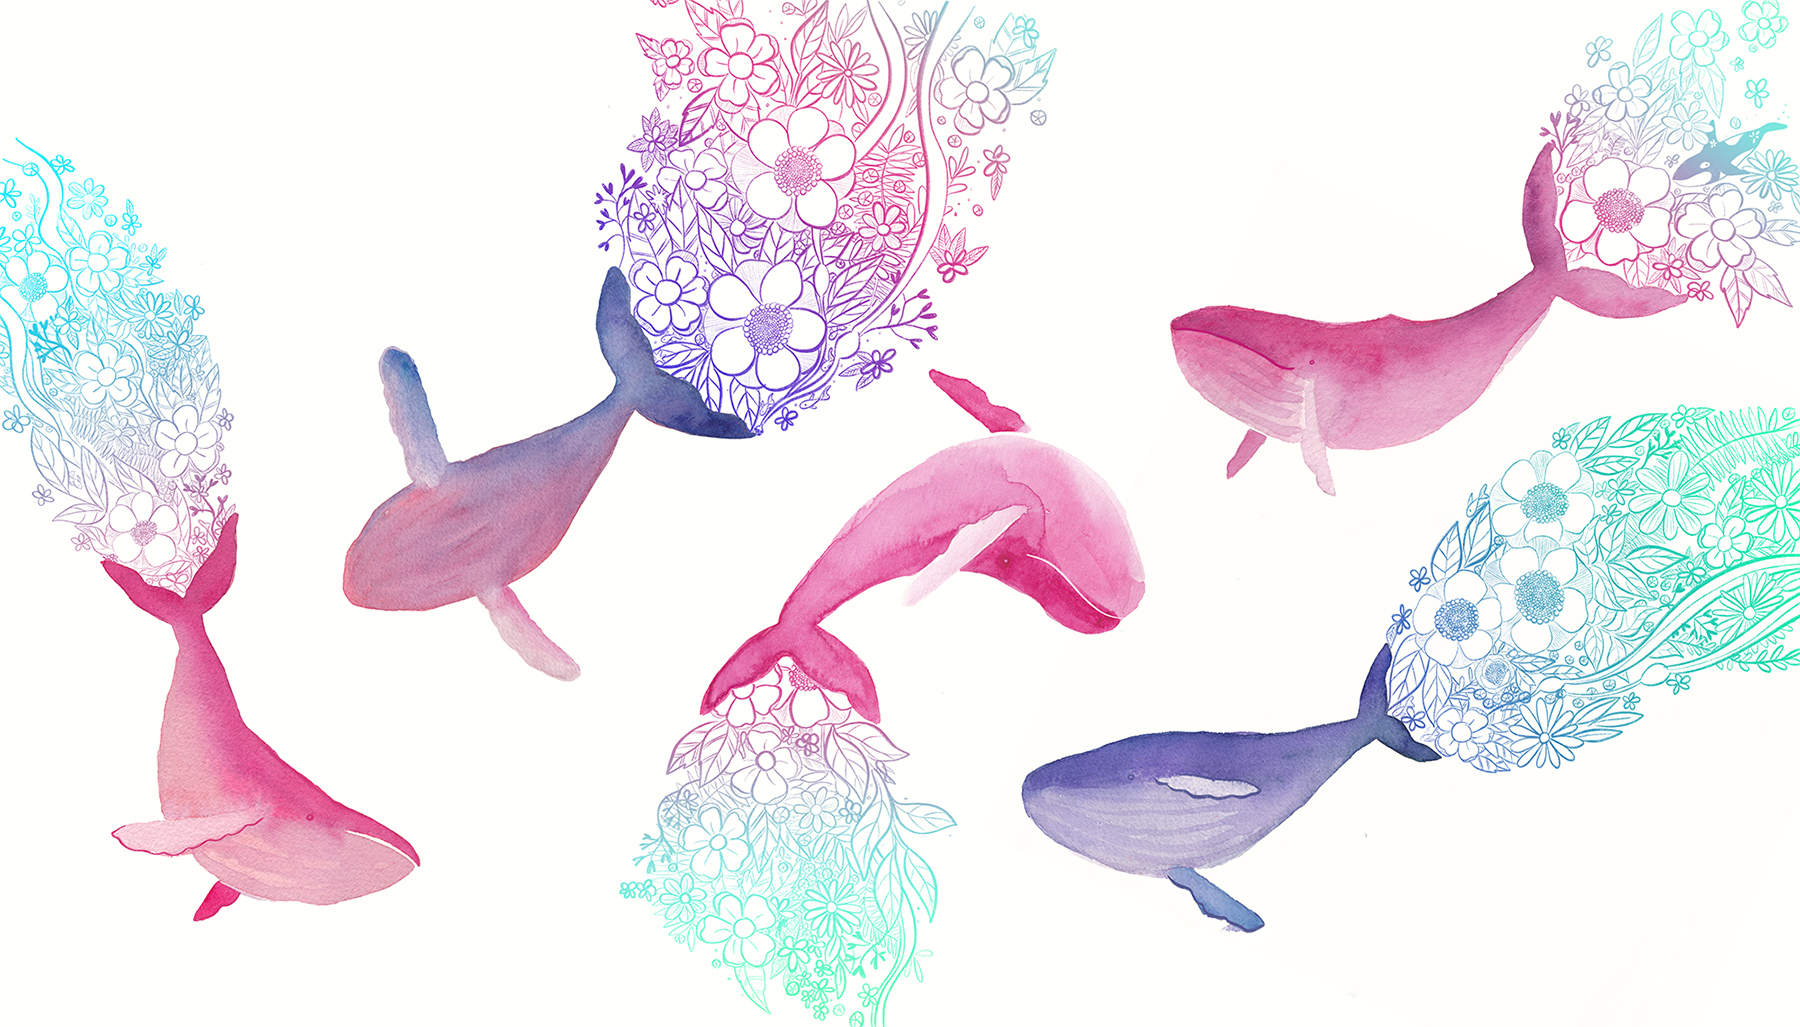
This was such a fun piece to make. The idea for this piece has been been on my idea wall for weeks and I was glad to finally achieve it. Humpback whales are magical, and I love the pure joy they express when you watch them dive and breach.
Look closely for the following Easter eggs:
a sunfish
a starfish
an orca
a self portrait (a crab!)
a girl swimming
bull kelp
fucus
Process
It all started out as an experiment on various kinds of watercolor paper:
After painting, I scanned each whale and then drew the blossoming portions by hand on an iPad. I then transferred it over to my laptop to add the gradient layer.
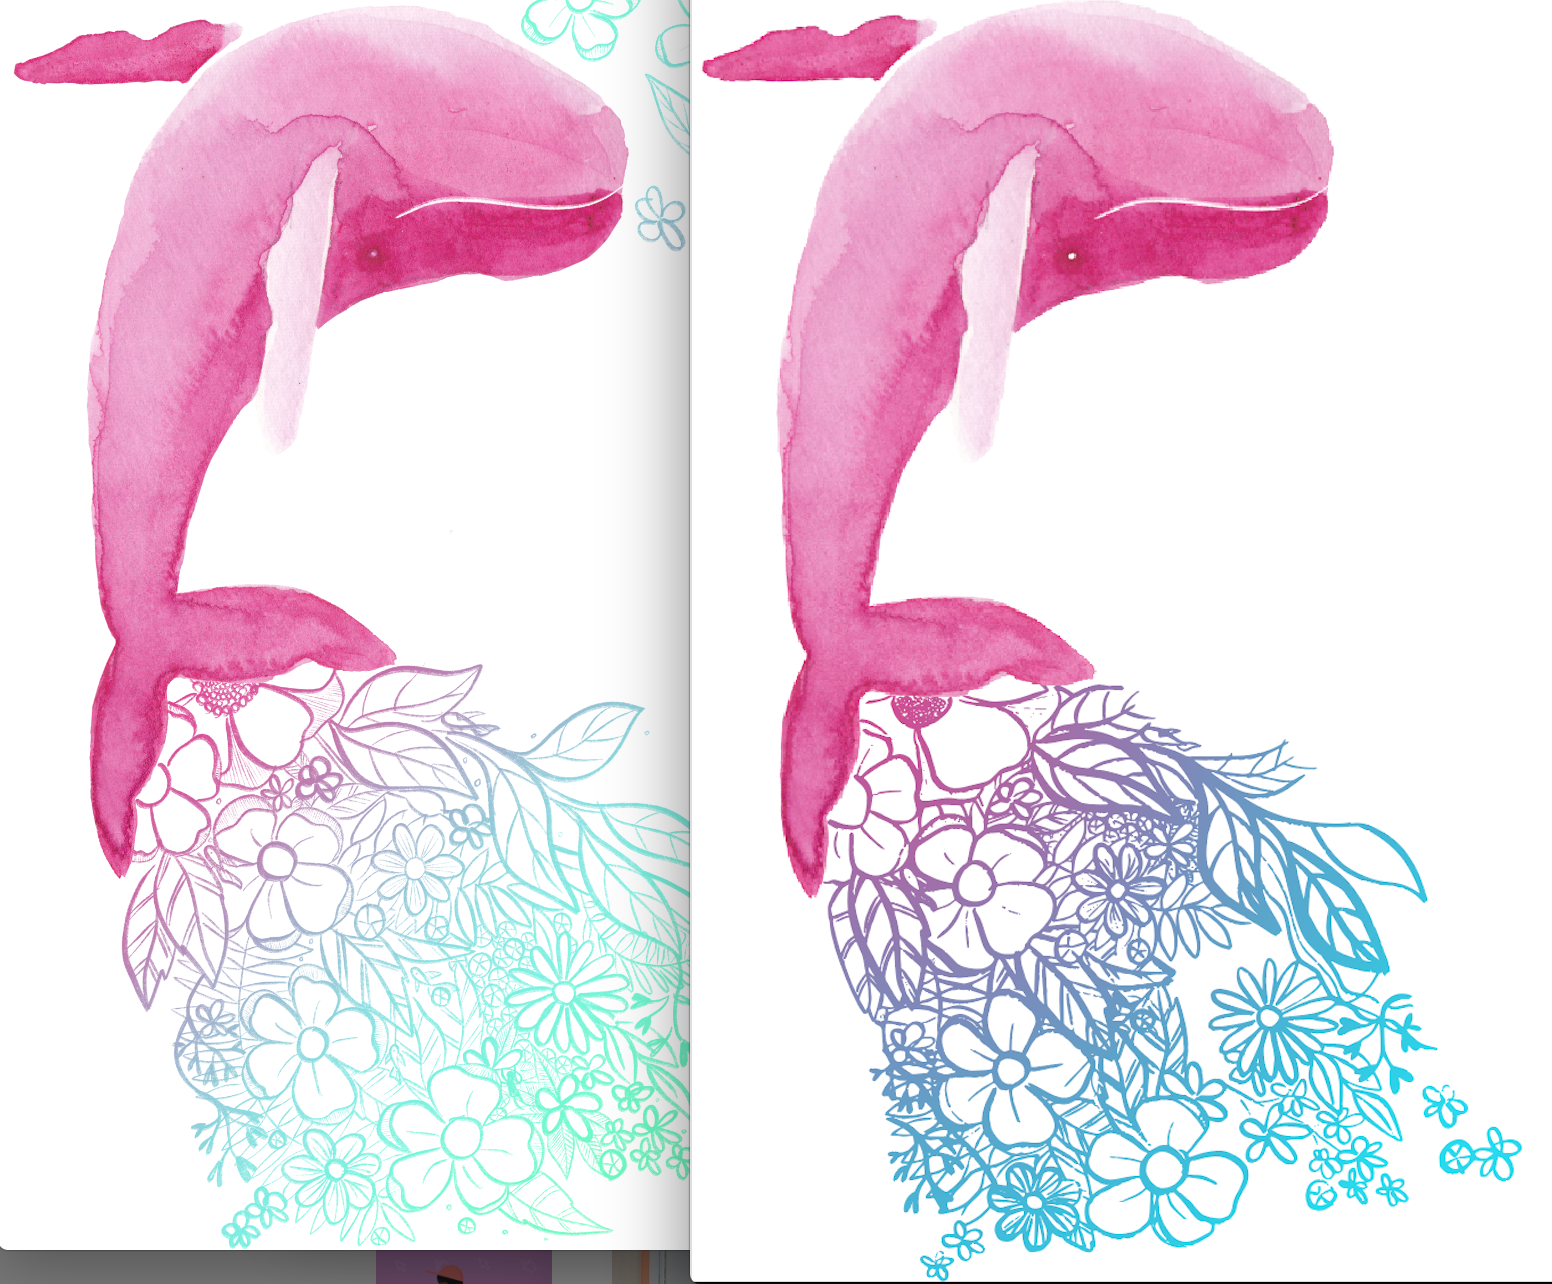
Through trial and error I learned that the Illustrator Live trace tool does not do well with sketchy style tools, it did not like my pencil or my shale tool! When I traces it it lost a lot of detail and created thick lines. (To see the difference, look closely at the whale on the right. The lines are thicker.) It was unfortunate because it’s of great benefit to be able to have my floral layer as a vector, in terms of easily adding gradient and in terms of having a design become scaleable.
In the end I redrew the floral whale, this time by using the eraser shale tool and erasing the design on a white layer. Then I imported into Photoshop and applied a gradient underneath. Downside: not scaleable. Upside: got to keep all my file details and texture.
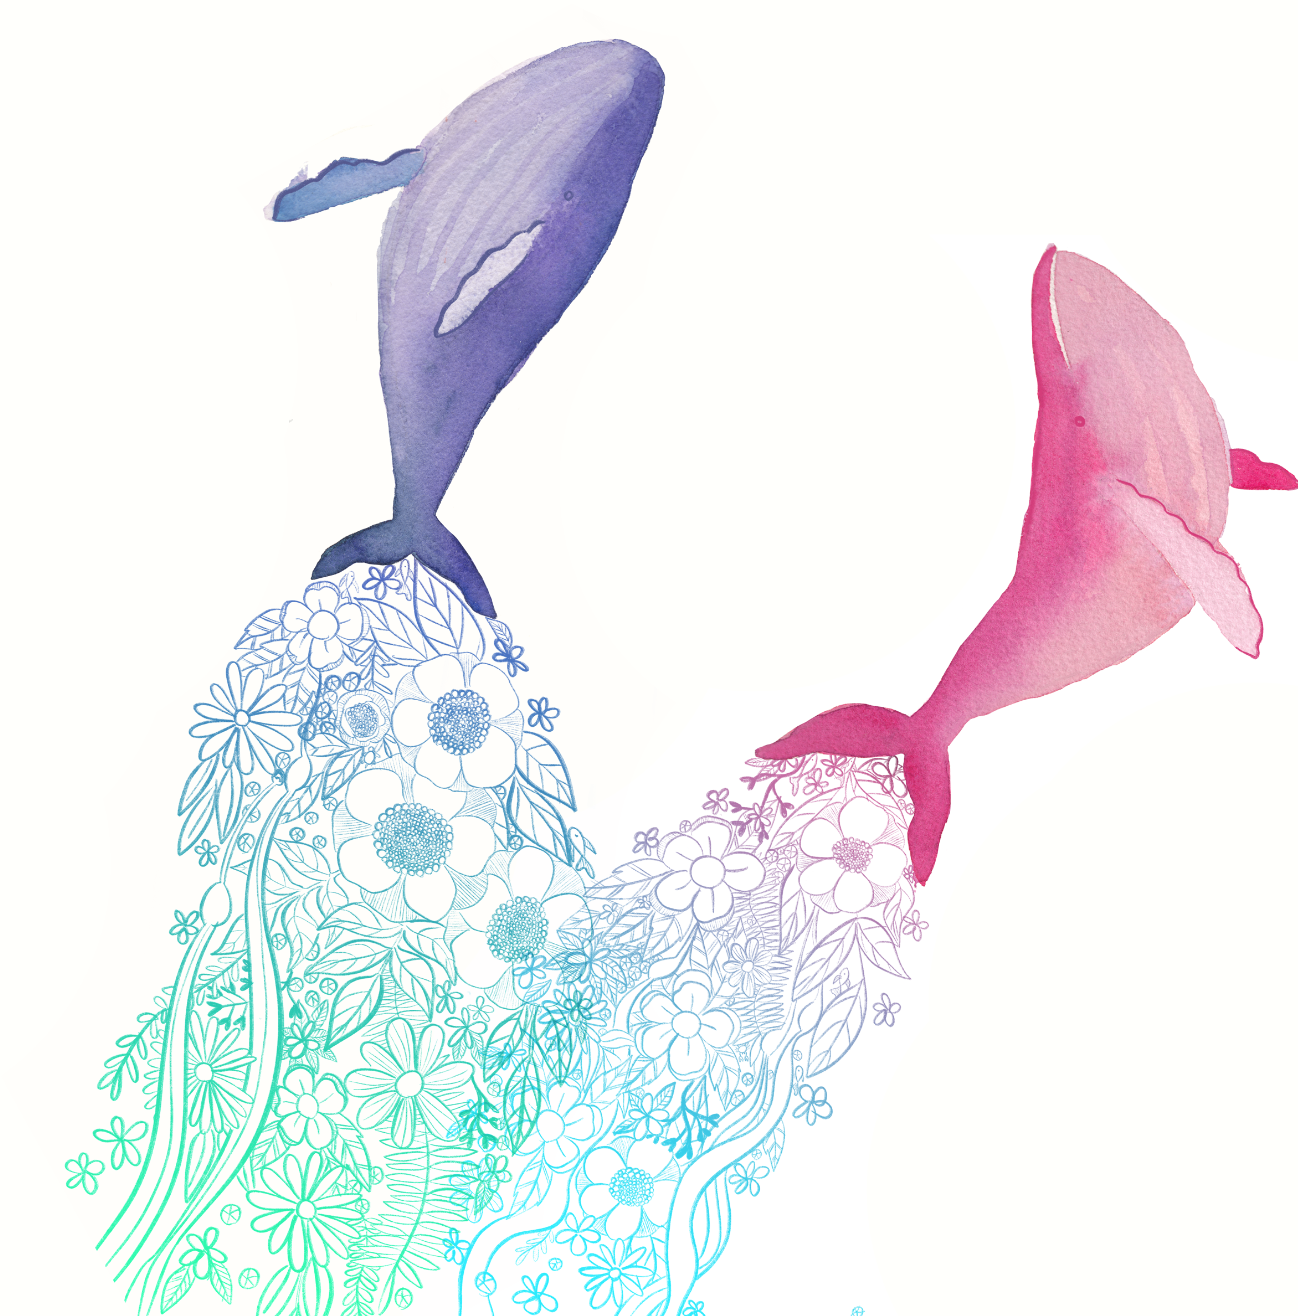
Here’s some individual shots:
Some combined florals for fun:
Later, Edit: I realized a little later that creating a white layer and erasing into the layer was just a sillier way of drawing on a clear layer and applying a layer mask in photoshop, something I’ve done a million times before but it didn’t occur to me for some reason. The one upside to the erase-into-white technique is that you can place a spray tool style gradient behind it to watch the colour as you draw. However, now Procreate has the function of allowing a layer masks too, so you could equally do it that way.


